The Basics of Creating Braille Signage
ADA Laws require that signage include braille for those who are blind. But the guidelines can be a bit complex (at least it was for me when I was designing mock braille signs). So we put together a how-to for those who are interested in creating their own custom ADA signage.
What is Braille?
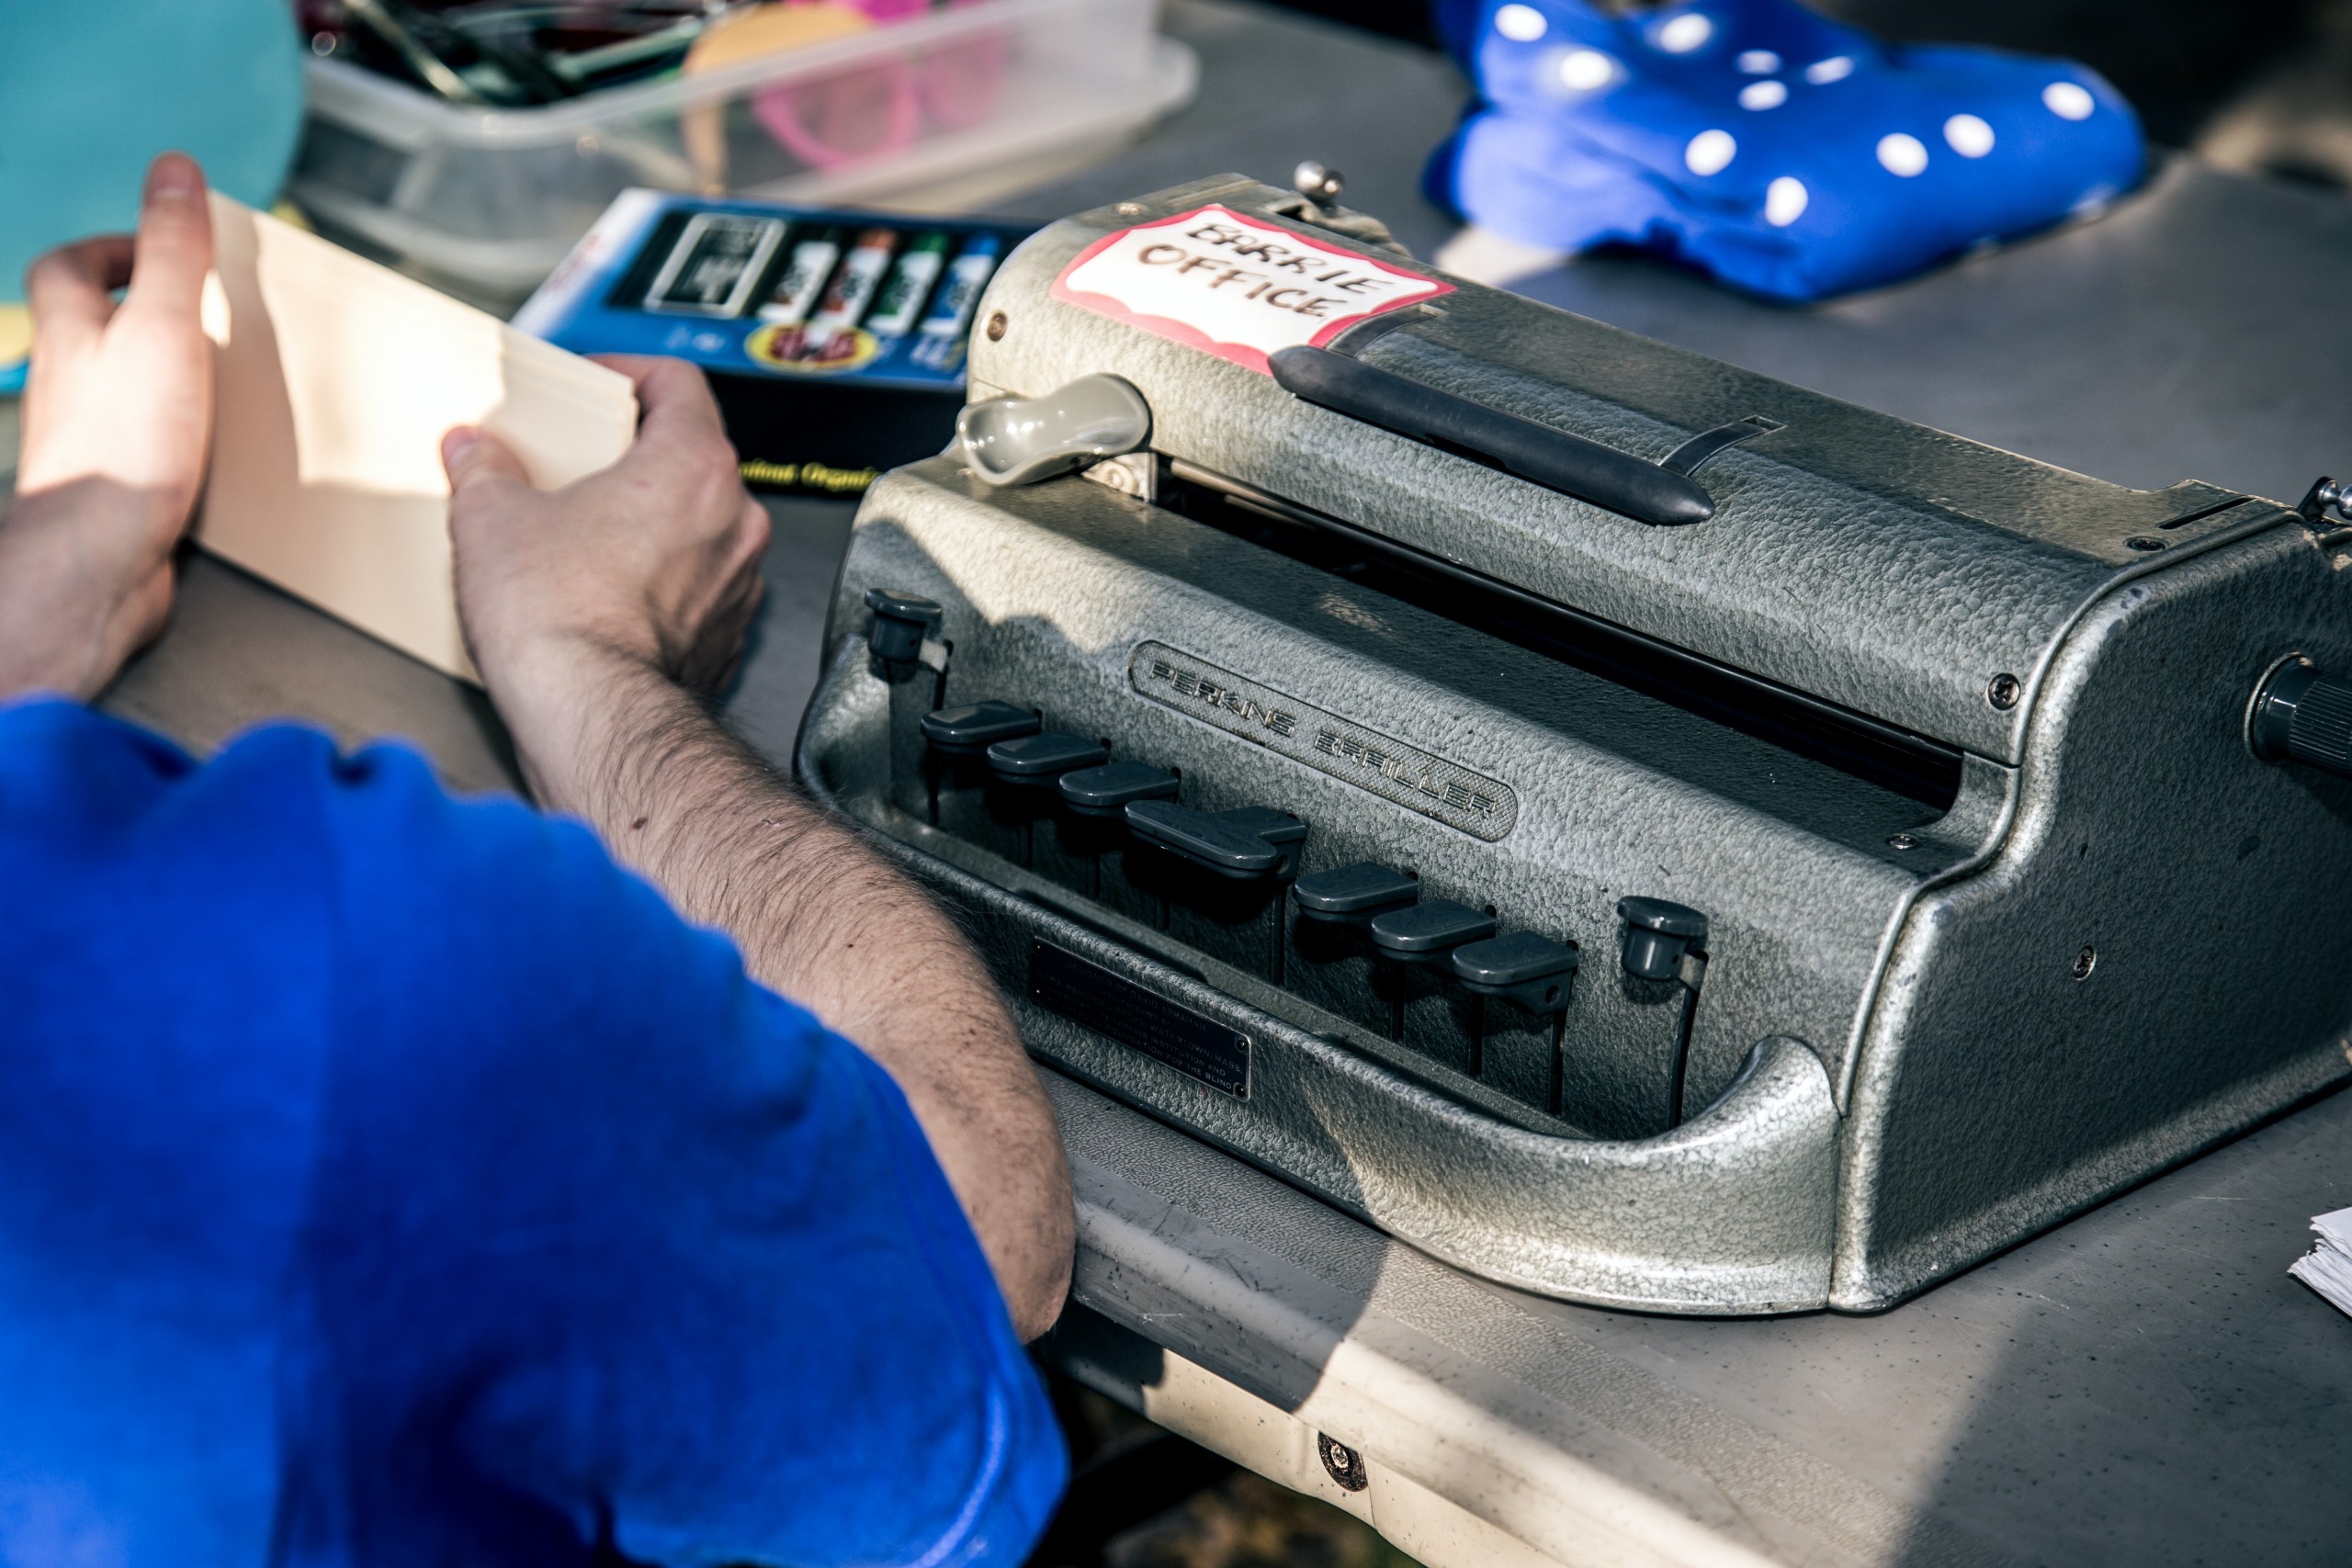
Braille is a form of written language for blind people, in which characters are represented by patterns of raised dots that are felt with the fingertips. There are different types depending on where you live, but ADA requires Grade II braille on all signs. This is because it takes up less space on the sign by using contractions.
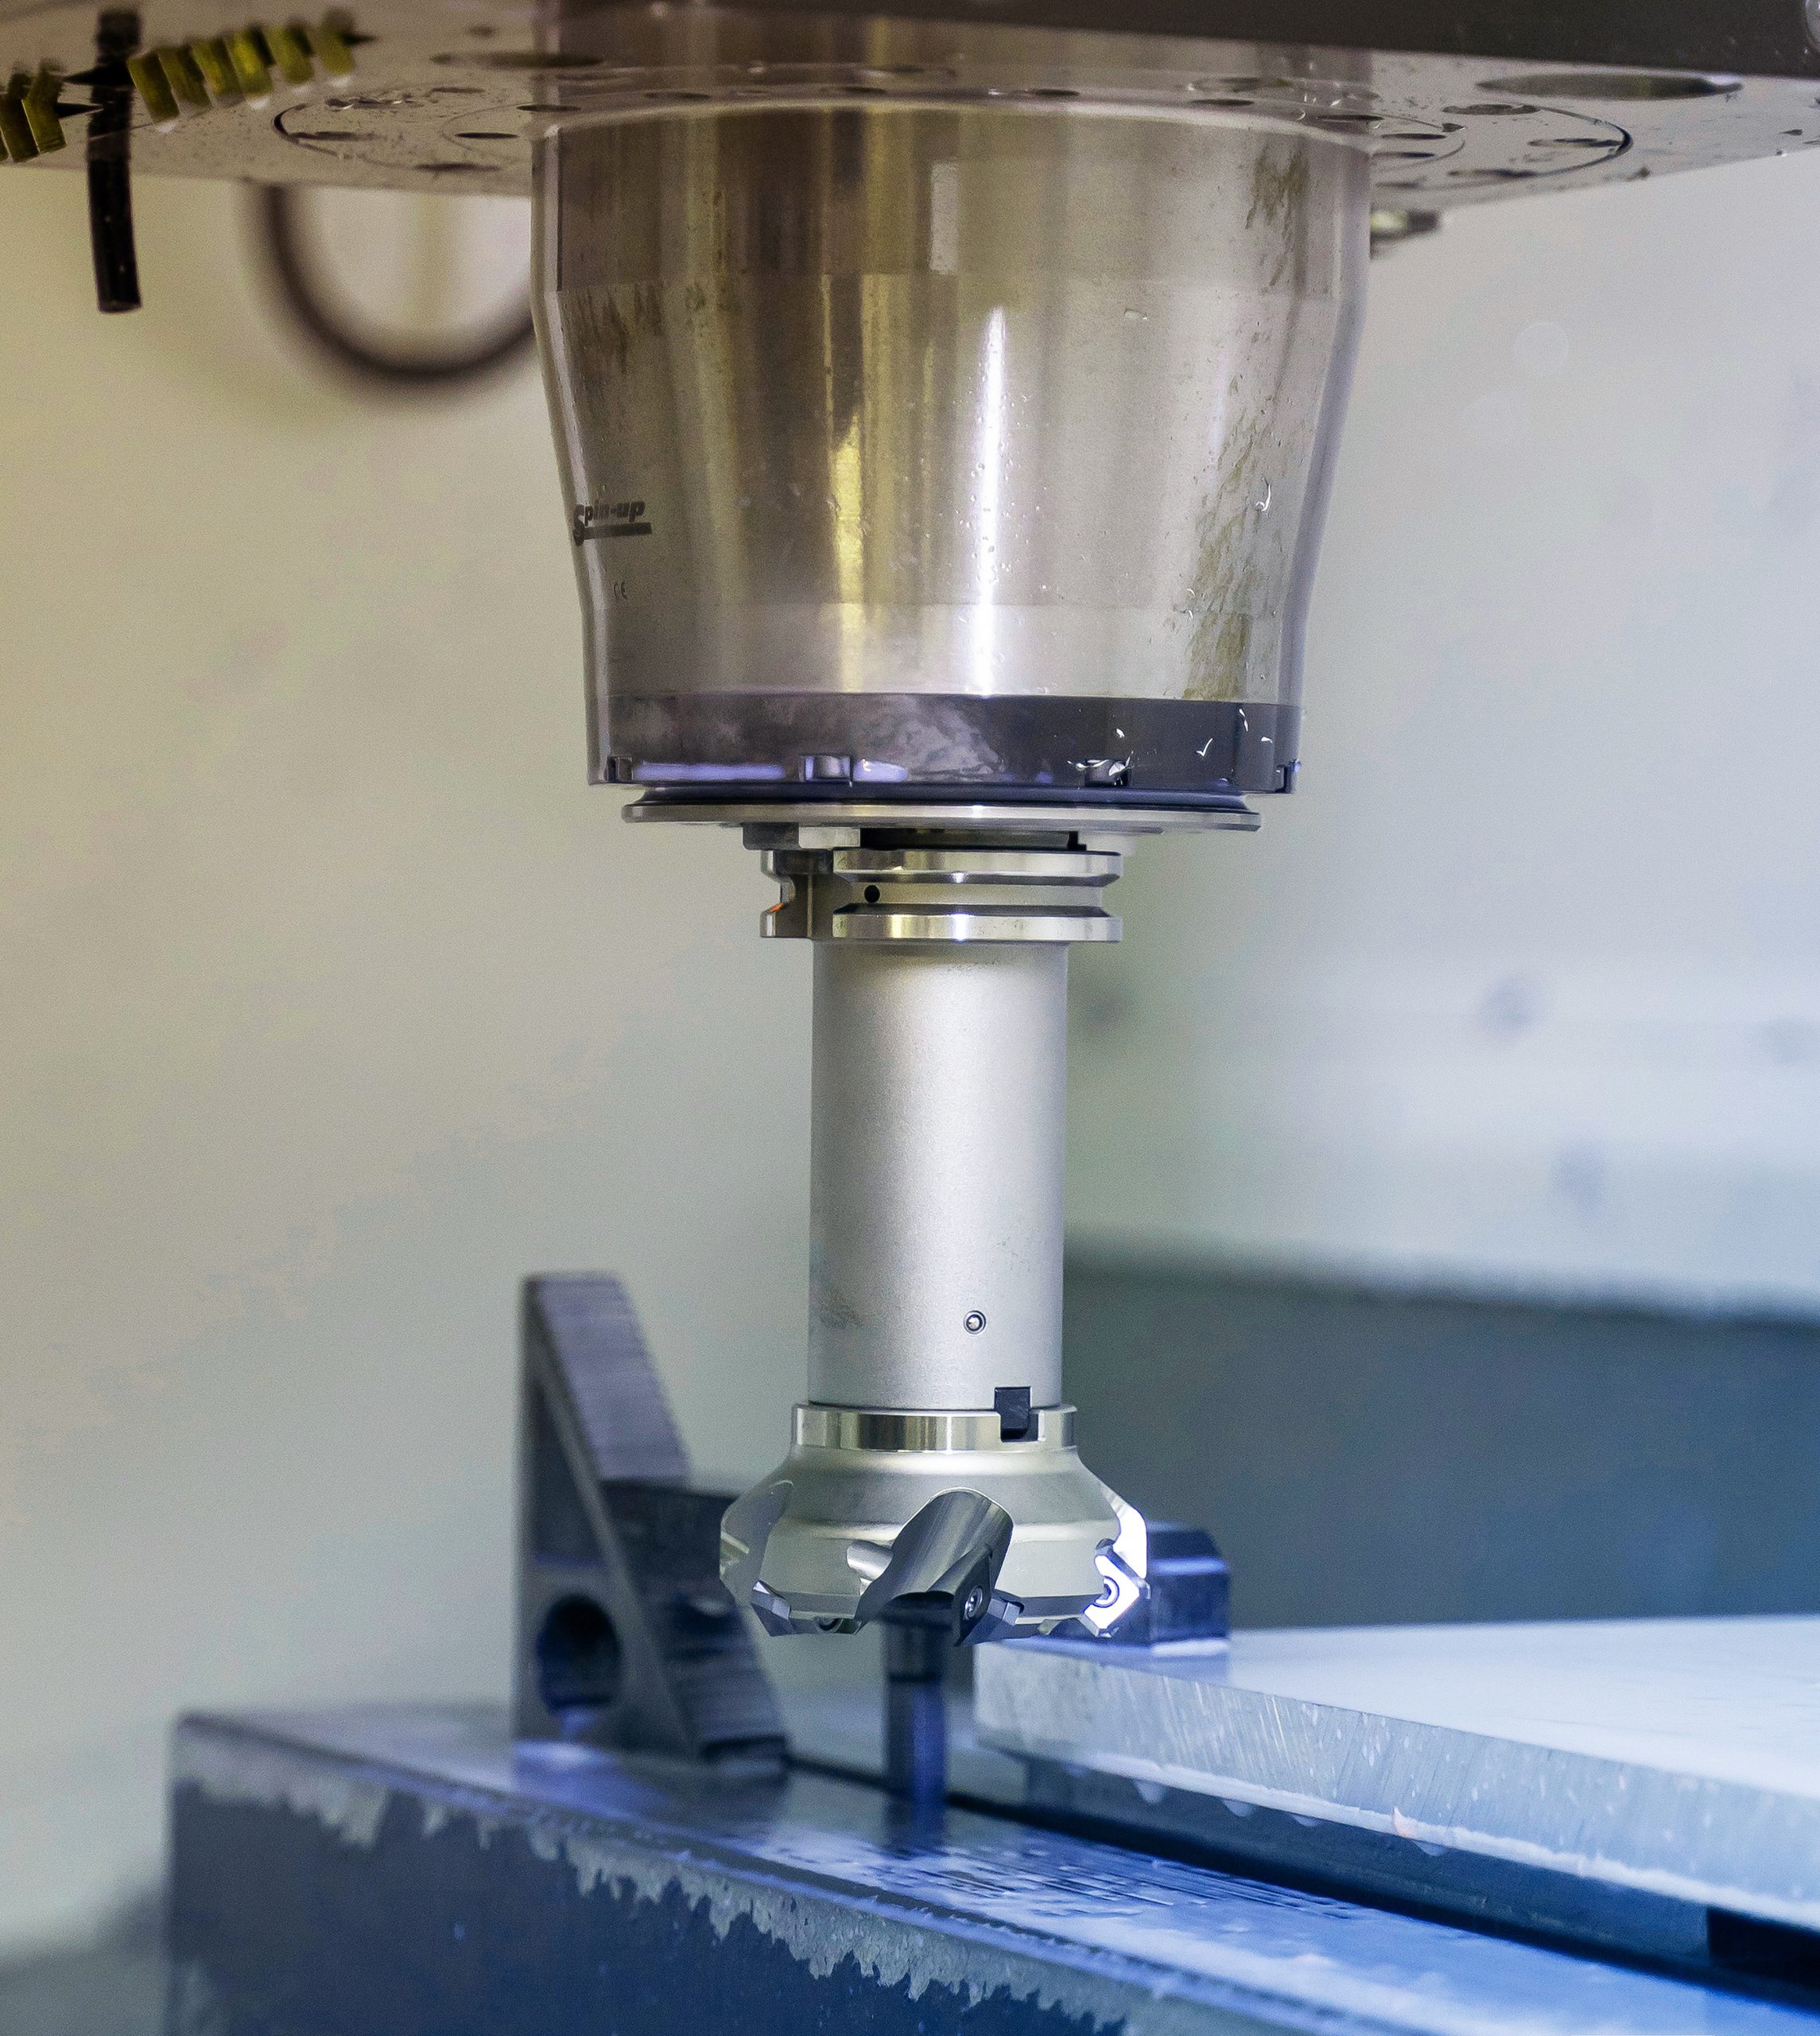
Raster braille is the most common way to produce tactile signage. With this, you use a rotary engraving machine to drill a series of holes in the substrate, outlining where the braille dots will be placed. You would then insert spheres into these holes which provide a raised braille message.
We will not be going into the specifics of the braille size requirements, but you can find it in our recent article: ADA Sign Basics
Preparation
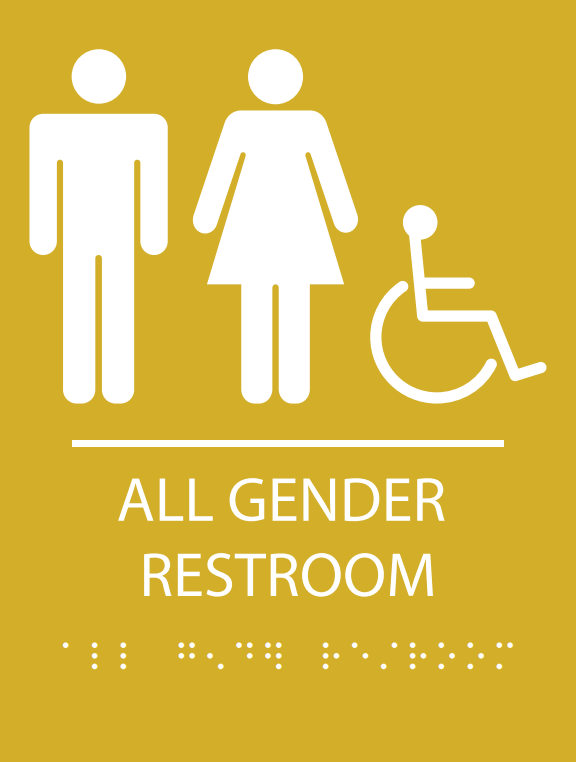
Before you can even think about using rotary machines, you have to come up with a design first. We use software dedicated to sign design and create multiple different sizes in compliance with ADA guidelines. While putting together this design, always remember the placement of your pictogram, words, and braille. You should have a 4.5-6 inch area specifically for your pictogram. And then below that, you will add in the words that correlate with the image.
In the example on the left, we created a mockup for a 6×9” All Gender Restroom.
For most signs, a 5/8 inch is the best when it comes to text. With that portion done, you are ready to send it off for printing! Make sure the file is an EPS file and that the dots for braille are outlines, not shapes so it does not confuse the machine.
Substrate
There are many different types of materials you can use for your signs. Romark offers a great array of these materials that we also have in-house. Once you have picked your substrate, it should be loaded into the printer.
The print job typically takes 4-6 minutes. Because we use high-quality ink, the sign should be dry as soon as it’s done printing.


0 Comments